


Eyebrow makeup mapping at home gives you balanced, lifted brows without guesswork. With a few precise points and the right Relume products, you can create a clean outline that flatters your face and keeps fronts soft. This brow mapping guide for eyebrow makeup is simple, repeatable, and fast.
Why Mapping Matters For Balance And Lift
Mapping anchors your brows to your own bone structure, not to a trend. When the start, arch, and tail sit in the right place, your eyes look more open and the upper face appears lifted. Proper placement also prevents heavy fronts, drooping tails, and overfilling. Natural brow mapping techniques for beginners focus on thin product layers and careful blending. The goal is believable texture, not a rigid stencil shape.
Tools You Need For Eyebrow Makeup Mapping At Home
-
Relume Full On Brow Pencil in your shade
-
Clear or tinted brow gel, such as Sky Rise Gel (coming this fall)
-
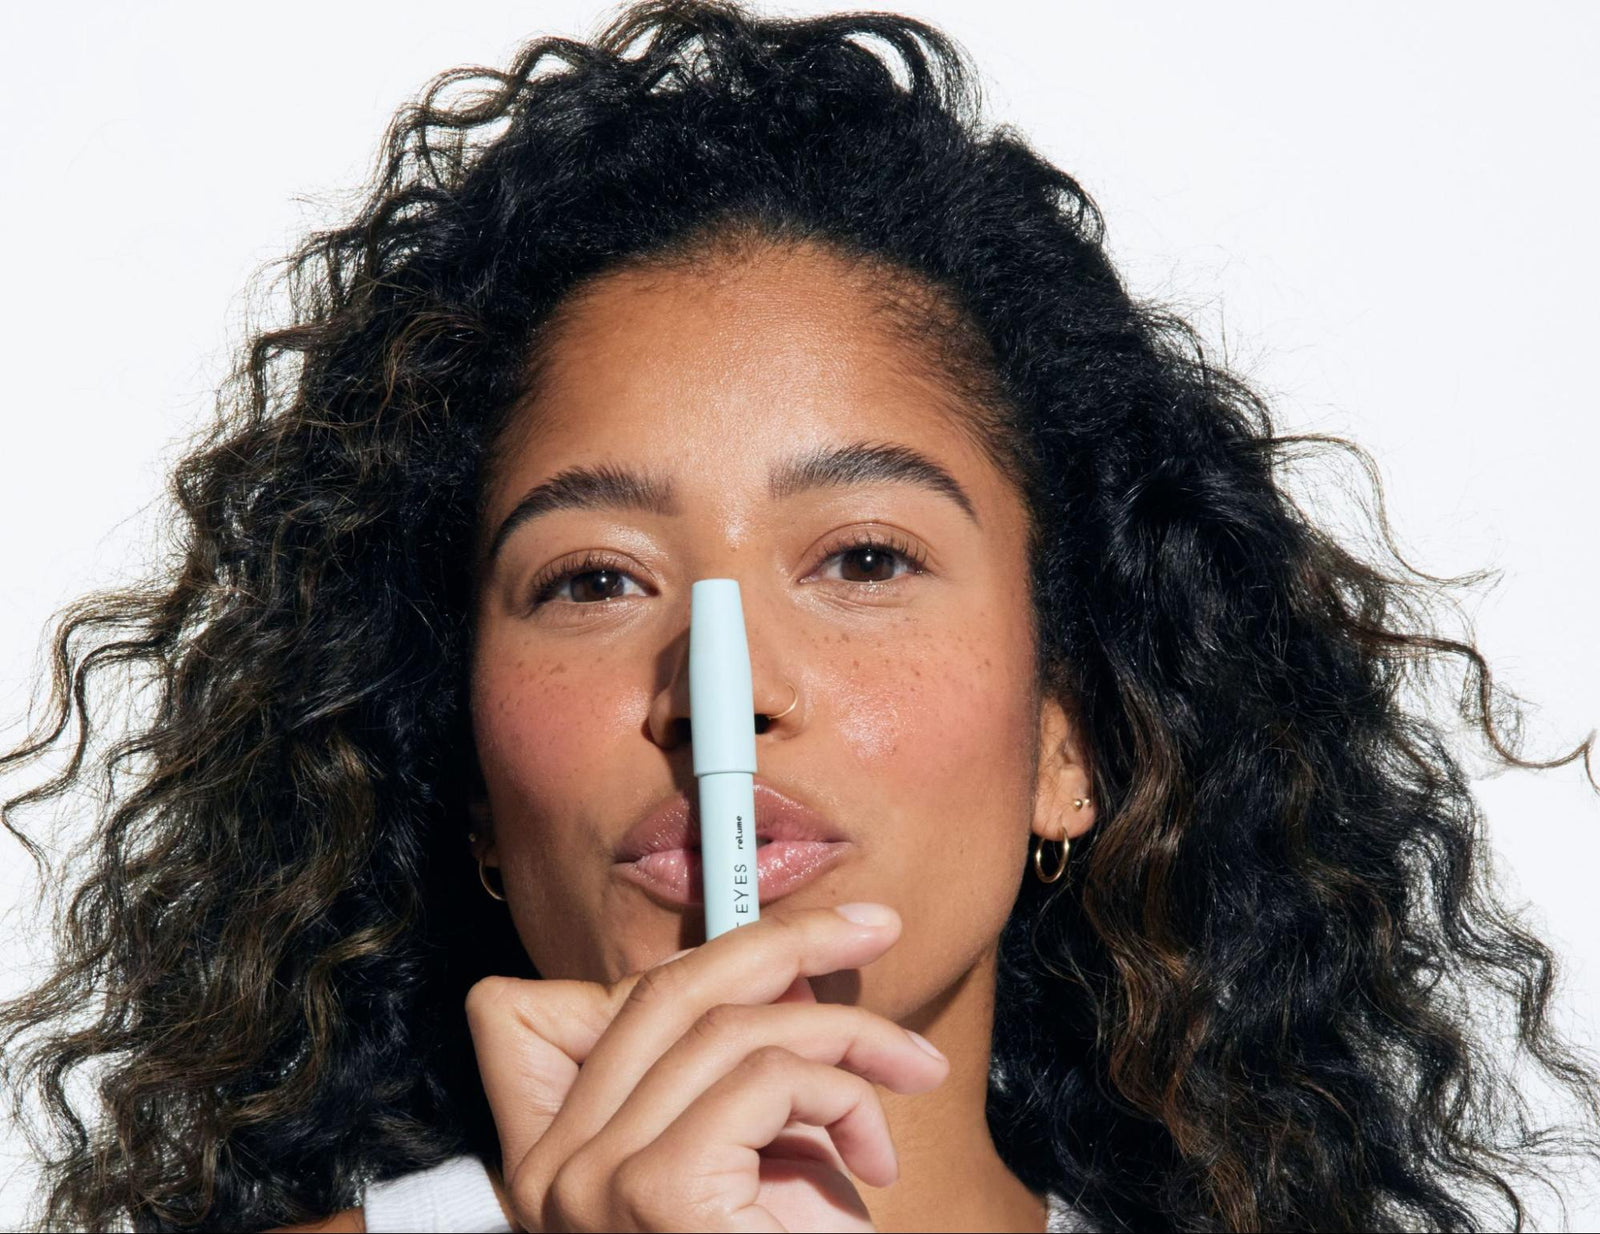
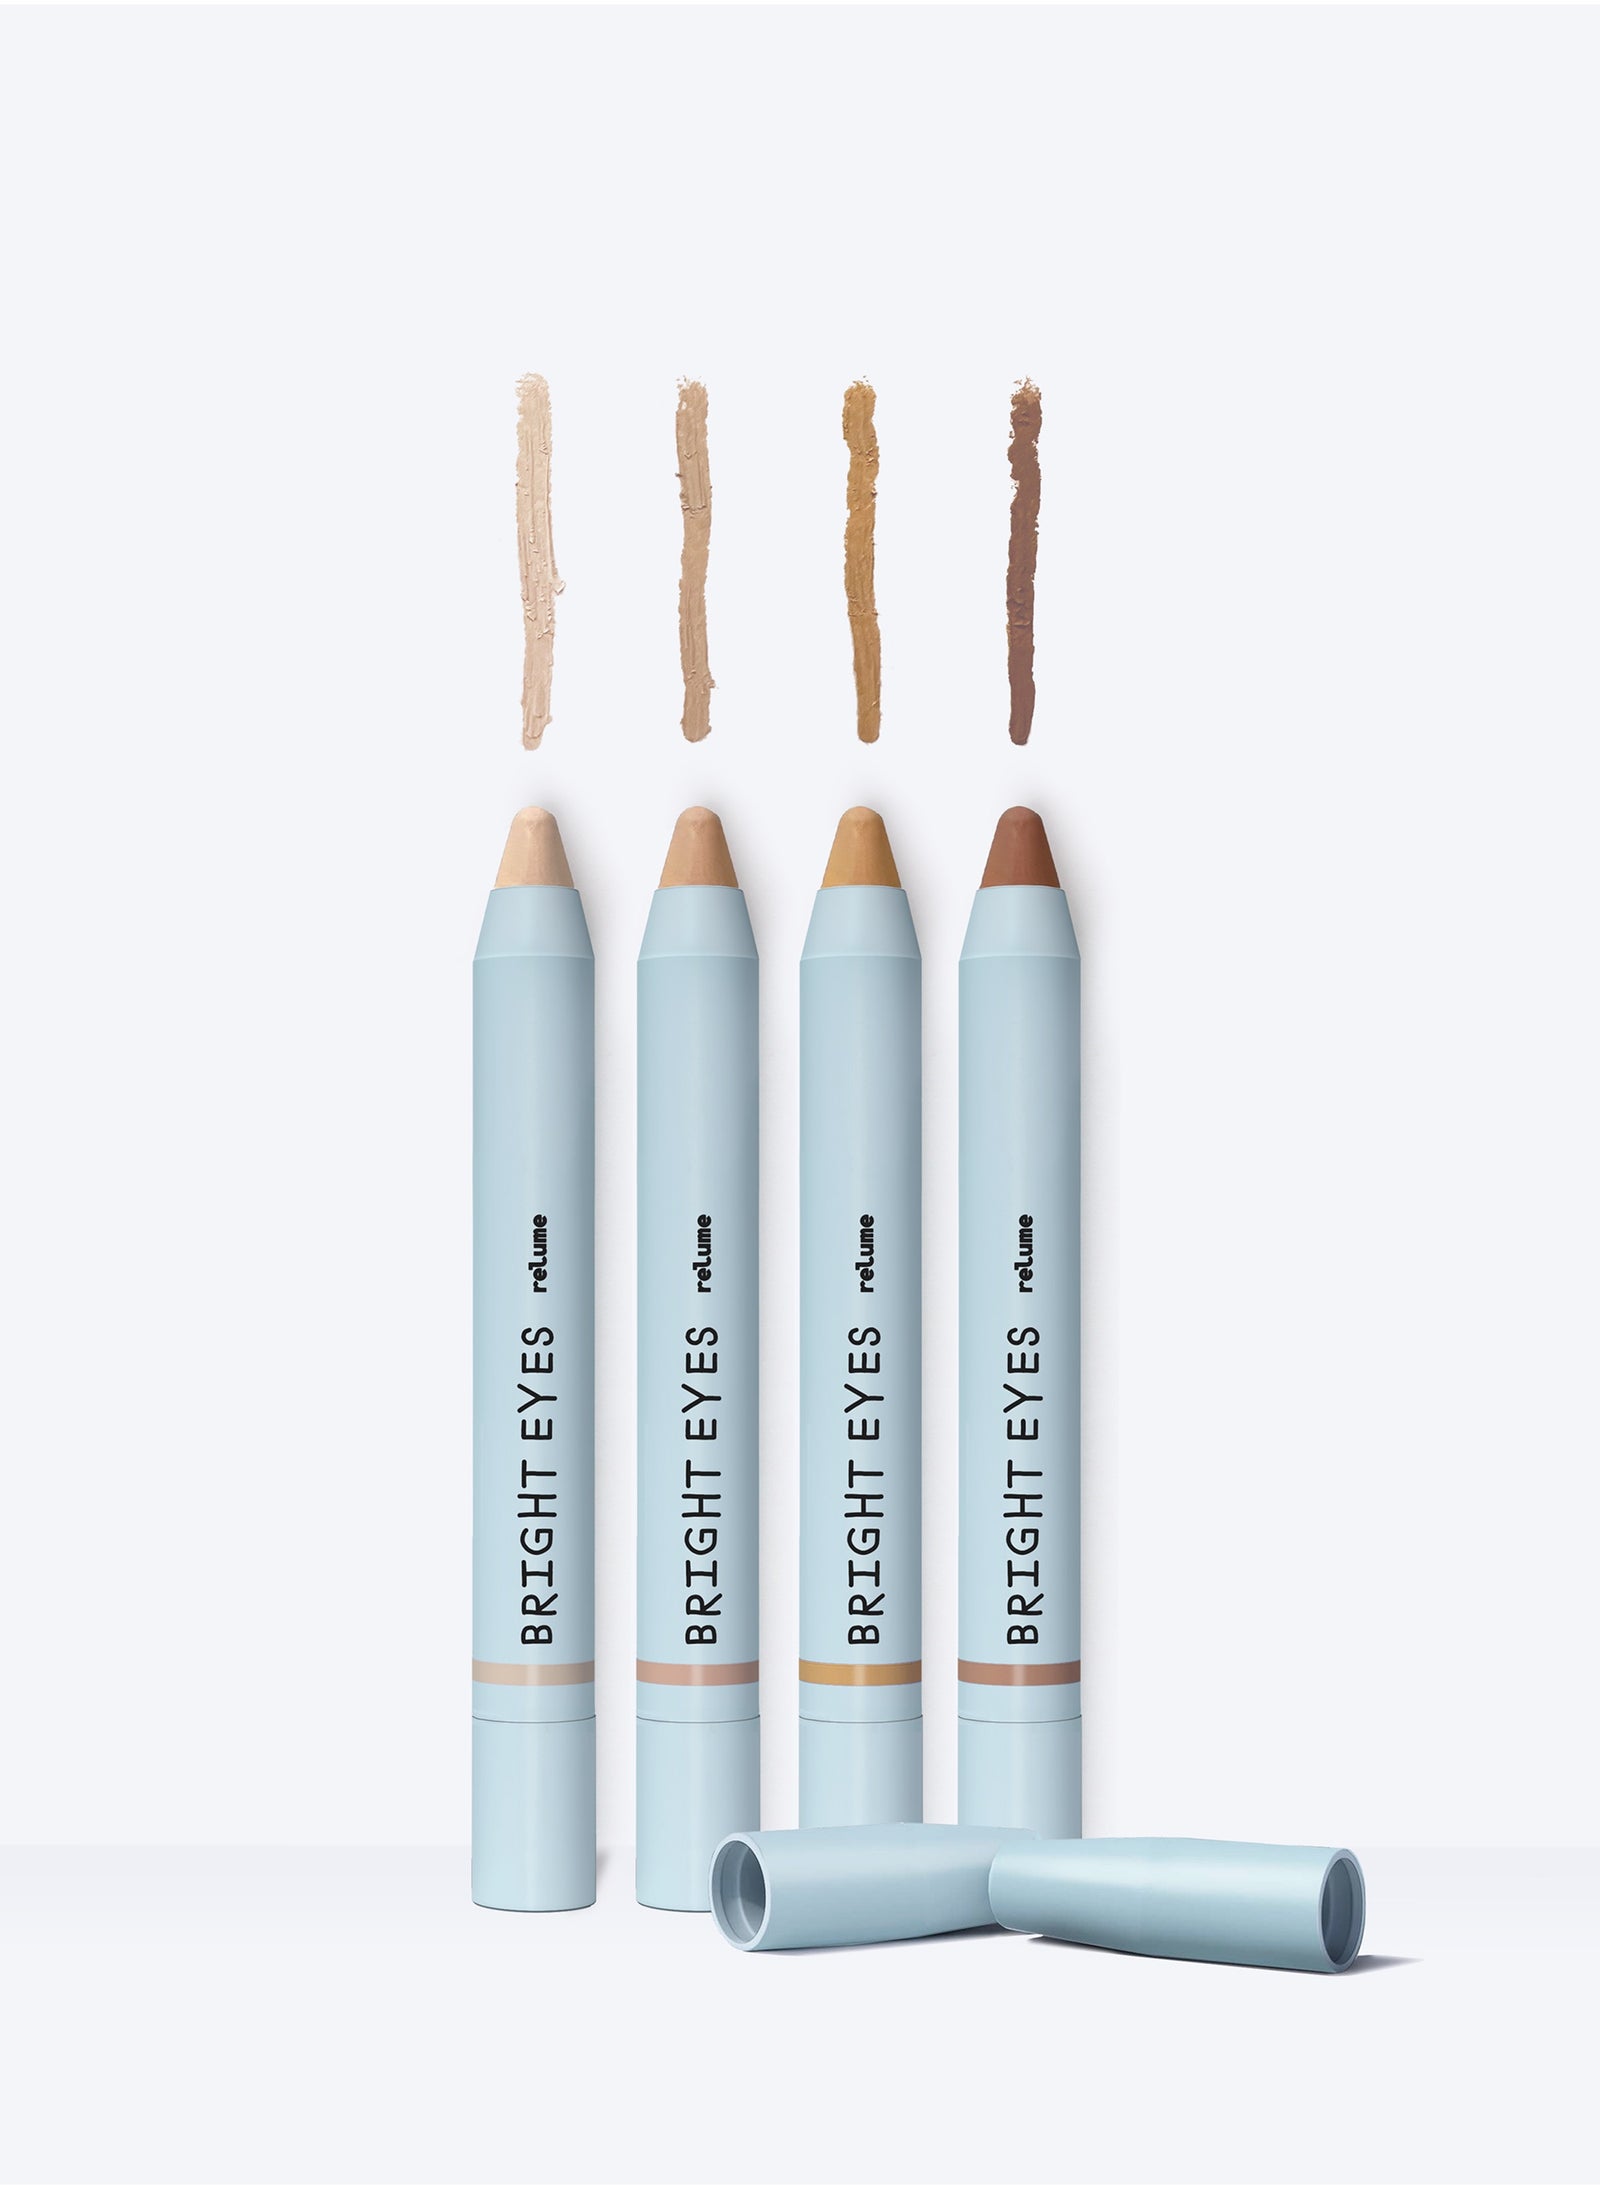
Relume Bright Eyes Brow Highlighter
-
Clean spoolie
-
Small flat brush
Where Should My Brow Start
Look straight ahead and mark your start point by tracing an imaginary line straight up from the indent of your nose. You are using the indent of your nose as an anchor not a guide (not all noses are symmetrical) Then you place the line that is in the middle where your nose ridge meets your tear duct. Place the lightest pencil dot there. From there apply spaced hair like strokes until that meets your brow hairs. See the placement in Relume’s Where Your Brows Should Start and End video.
How To Shape Eyebrows Without Stencils: Find Your Arch
Your arch is unique to you and that’s exactly how it should be. There’s no “right” or “wrong” arch shape/”find your arch with this method” Some people naturally have a higher arch, while others have brows that are straighter or more subtle, while all of us have a little bit of both. Both are beautiful, and both are correct.
For years, traditional brow education has promoted the idea that everyone’s arch needs to be in a specific spot or that it should be lifted higher. These rules often push people to over-tweeze or reshape their brows into something that doesn’t sit naturally on their face. The result? Brows that don’t align with your natural features and are not balancing to your face.
The truth is, your arch already knows where it belongs. Where your brow naturally lifts and curves is exactly where it should be, it complements your unique bone structure and facial balance. Embracing your natural arch not only looks more harmonious, but it also keeps your brows healthier and fuller over time.
Best take away, no arch mapping needed. Your brows got you already.
How Long Should My Brow Tail Be
Measure the tail by lining from the outer edge of your nose through the outer corner of your eye. Your tail should end where that line meets your brow’s path. If you pull the tail farther and/or down the brow drifts downward and the eye can appear droopy and heavy.. A tail that lands cleanly on this guideline reads polished and lifted. And don’t worry you are not the only one with space tails. Most of us are not born with full dense brow tails. They also are the first to become most noticeable sparse with hormonal changes, thyroid changes and any hair loss on your brows. Follow Relume’s tutorial How To Fill In Missing Brow Tails Naturally without overdrawing for a soft, believable finish.
Brow Mapping Guide: Outlining Your Brow
When it comes to outlining your brows, think soft, light, and natural. The goal isn’t to draw harsh borders, but to gently guide the shape so it enhances what’s already there.
Start at the bottom:
-
Begin in the center of your brow and follow along the root of your lower brow hairs.
-
Use your pencil with a very light hand, keeping contact with the skin as you go back and forth in short, soft strokes.
-
Work your way under the arch the same way. Lightly sketching back and forth 2-3x adjusting, and blending as you go.
-
Continue until you reach the tail of your brow.
If you notice your outline line is visible, use the spoolie brush on your pencil to lightly tap and blend it out for a seamless finish.
Who needs this step?
-
Outlining is especially helpful if you have medium to skinny brows or areas with less hair under the arch (often caused by past tweezing or waxing damage).
-
If you already have full brows with a naturally defined shape, this step may not be necessary. You don’t want to overdo it when your brows already frame your face beautifully.
Defining the top:
-
Start from your arch and lightly sketch back and forth, creating a soft line down to your tail.
-
Again, blend if the line looks too visible.
Always keep in mind: brows should look like hair, not like makeup. A natural finish will give you definition without losing the softness that makes brows look effortless.
Fill With Hairlike Strokes, Then Tint And Brighten With Highlighter
Begin filling hair like strokes using Relume Full On Brow Pencil only where there is no hair within your shape if lacking, or less dense in hair. Remember do not apply the pencil where you have the hair, this only creates a more unbalanced and unnatural looking brow.
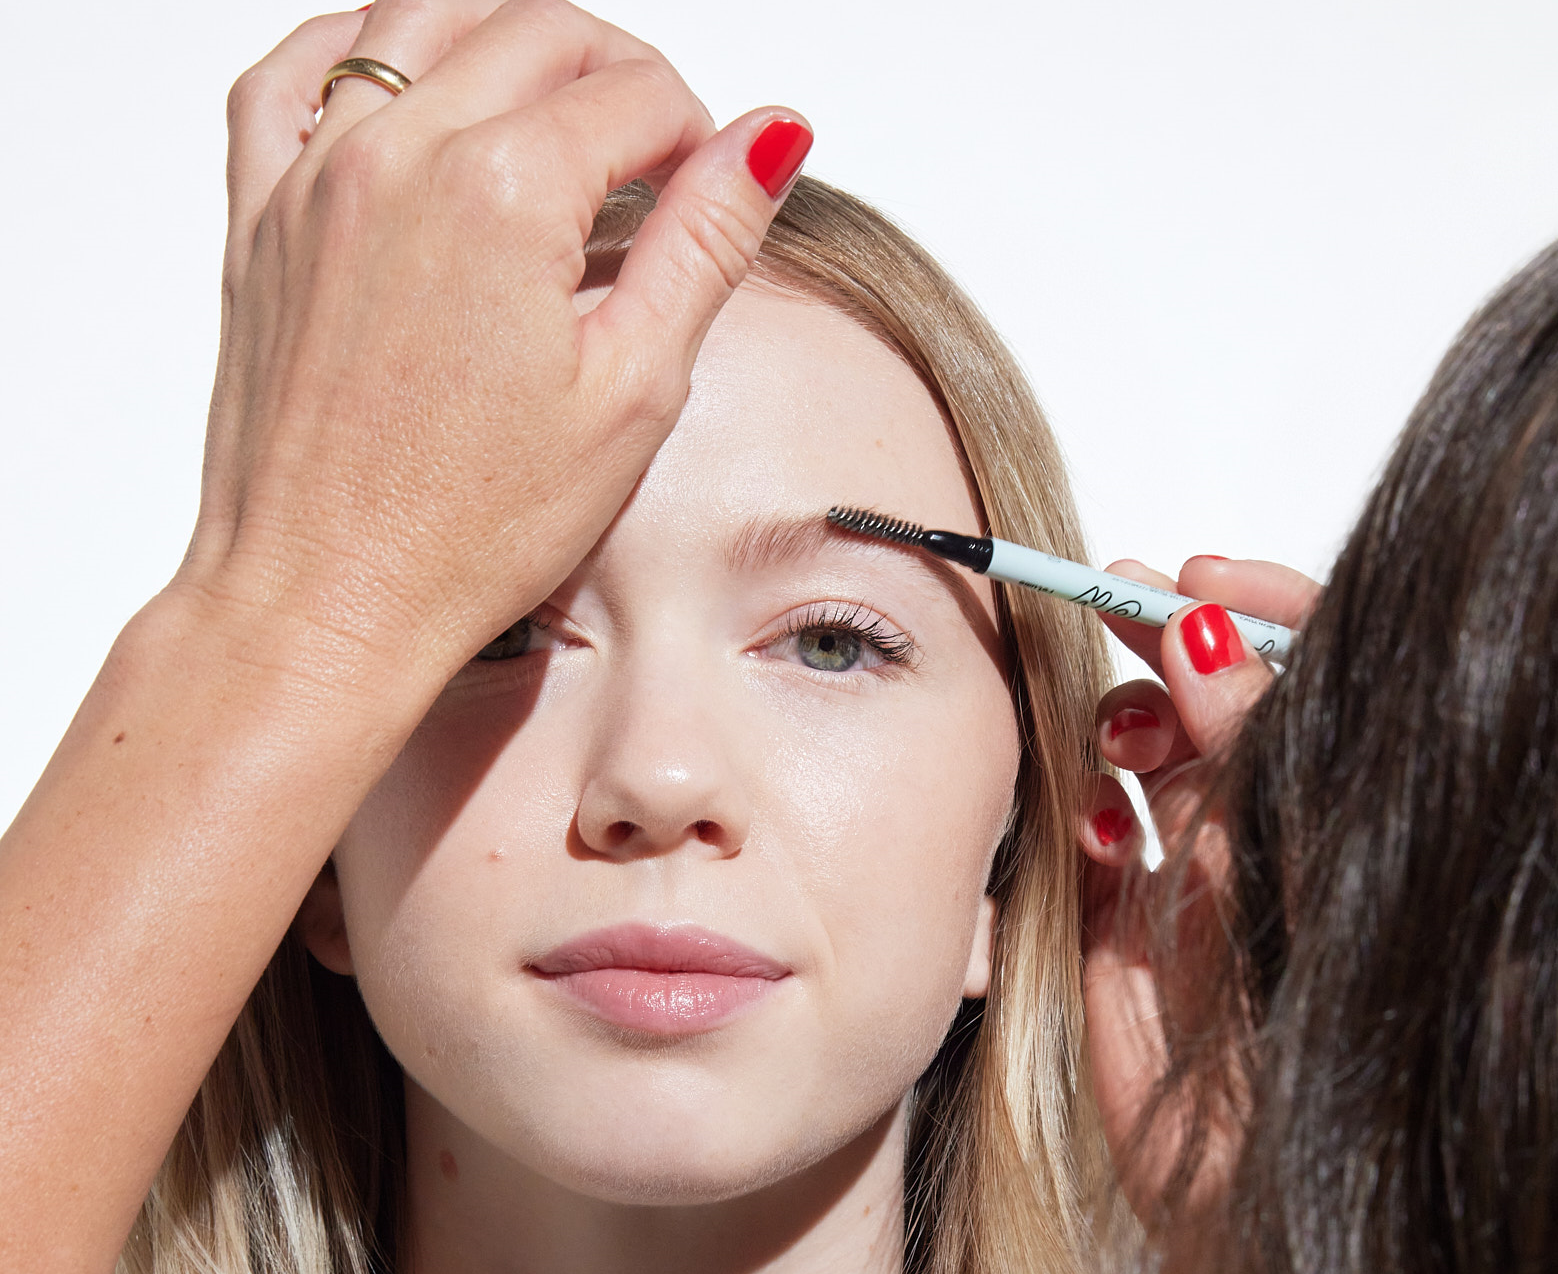
Second step: Brow Gel. If your brows don’t need a tint, apply Relume Sky Rise Clear Gel. For brows that could use a little extra color, reach for one of our tinted Sky Rise Gels instead. Apply the gel using a gentle backcombing motion. This helps the formula coat every layer of hair from root to tip.
Next, take your Relume Full On Pencil Brush and guide the hairs into place, brushing them up and outward. Avoid brushing straight up, as this can look unnatural. The goal is to let your brows sit in a way that complements the fullness. Since most brow hairs start to angle sideways after the center, creating a dense, skinnier look. By brushing up and out, you evenly distribute the hairs, reveal more of each strand, and achieve a fuller, more natural appearance.
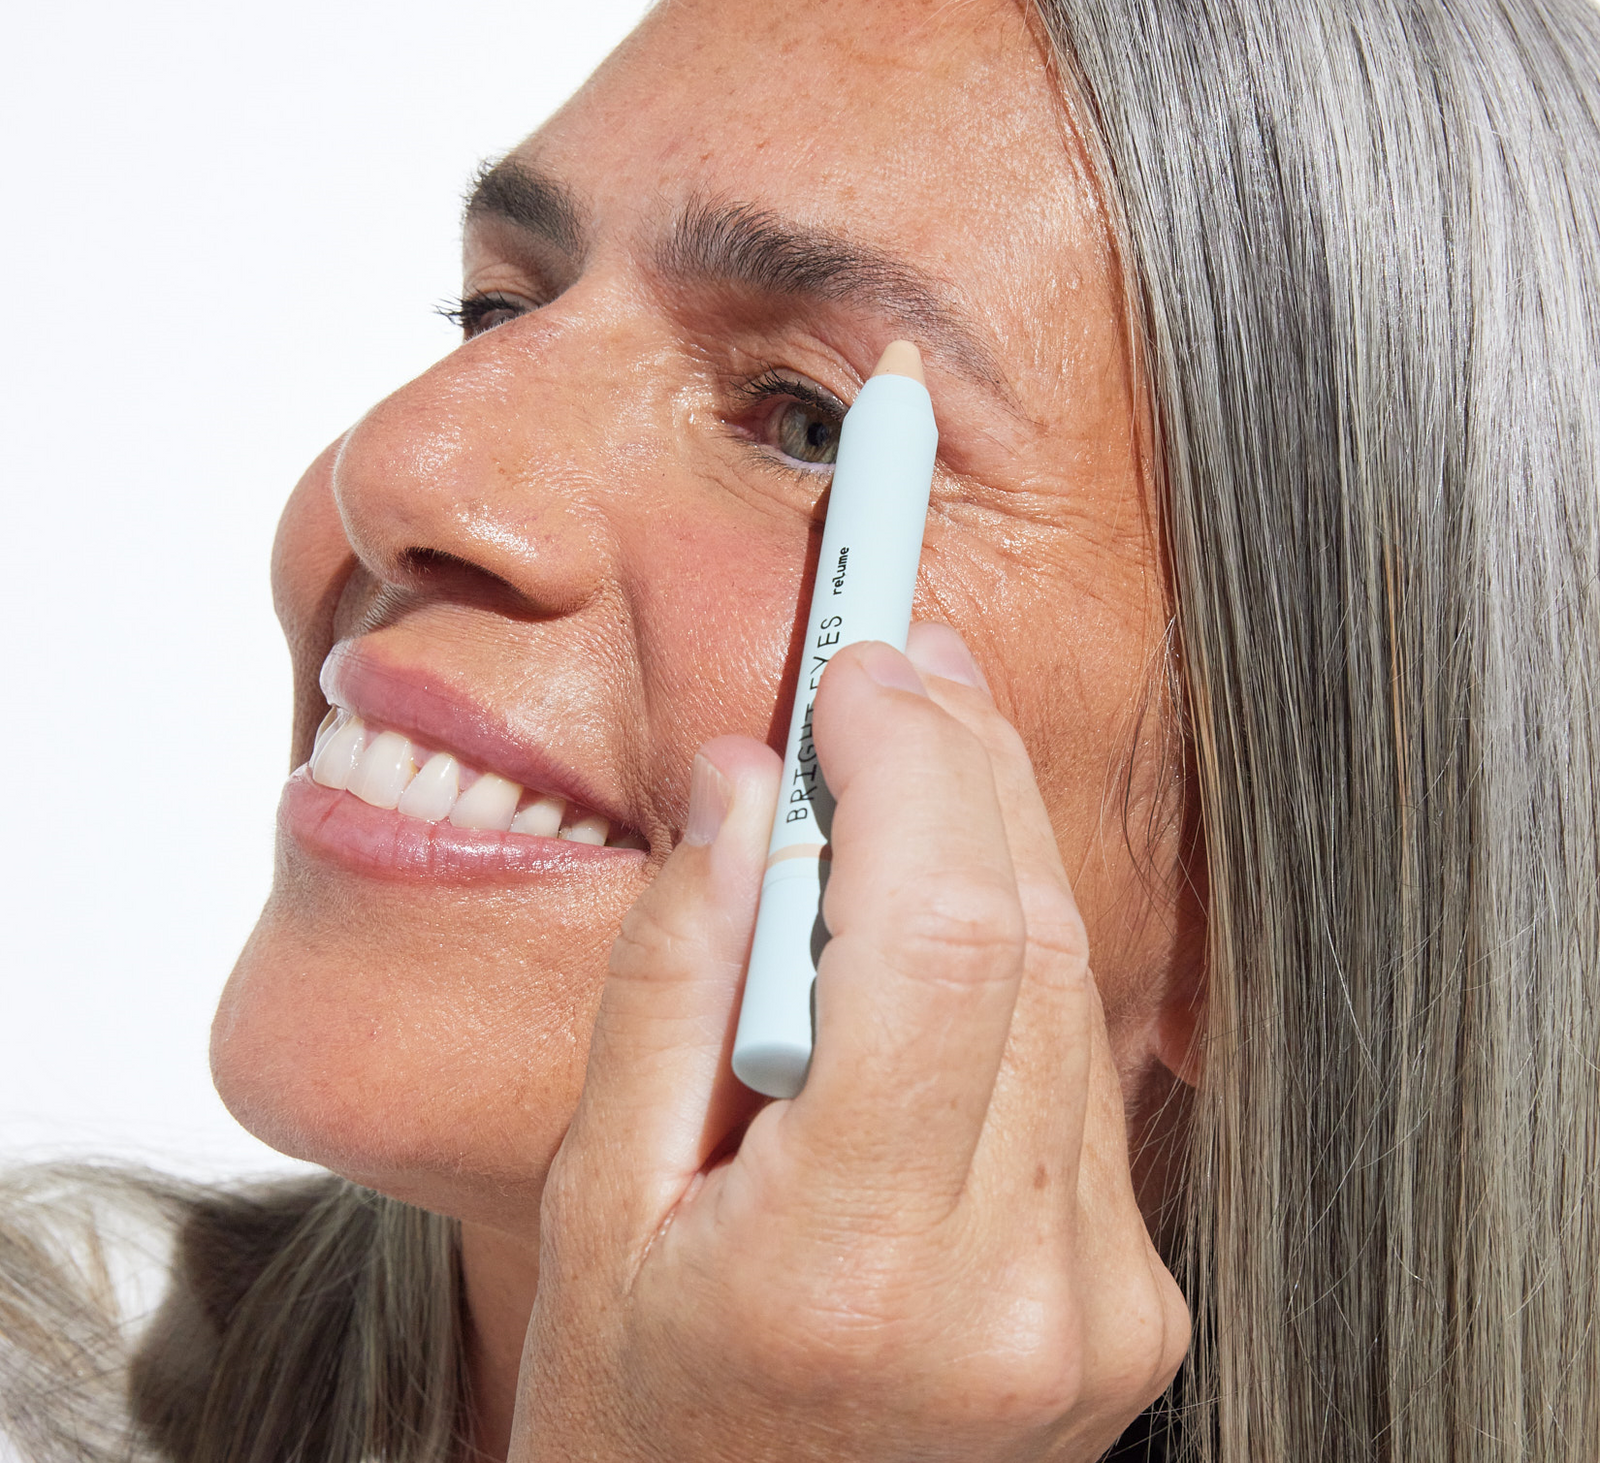
Finish with a thin line of Relume Bright Eyes Brow Highlighter directly under the brow from front to tail. Blend back and forth just below your brows. This brightens your eyes, lifts your arch and creates a beautiful look that is minimal yet so effective.
Quick Fixes For Uneven Brow Arches
Everyone has uneven brows, most of us with a slightly higher left brow and a lower, straighter right one. This is completely normal and doesn’t mean your brows need “fixing.”
Instead of tweezing or waxing, use makeup to create balance:
-
For the higher arch, use Relume Full On Brow Pencil to lightly outline under the arch to soften and lower the appearance slightly.
-
For the straighter brow, outline just above the arch using Relume Full On Brow Pencil, then add a touch of highlight using Relume BrightEyes Brow Highlighter underneath to create a lifted effect.
These small adjustments help your brows look more even while keeping them natural.
Troubleshooting Thin Fronts Or Gaps
When the centers of your brows are on the thinner side, it’s easy to go too heavy with makeup. The problem is that this can throw off the balance of your face and leave you with a bold, blocky look that doesn’t feel natural.
Instead, start with quick, hair-like strokes using your Relume Brow Pencil. Start with doing less than half of what you think you need. You should still see skin showing through, especially in the centers, because that’s how brows naturally look. Remember you want your brows to look like hair not like makeup.
From there, you can always add more if needed. Just be cautious not to overdo it. This area looks most natural when kept light and airy.
Now that you know how to find the start and tail of your brows using these simple guidelines, you can see that achieving beautiful, balanced brows really comes down to a less is more approach. Soft mapping, light strokes, and a gentle touch are all it takes to let your natural brows shine. If you want a custom map and shade match tailored to your features, book a Virtual Brow Coaching session with Relume today.