


If you feel like you have no brows, the right technique and product pairing will change everything. The best eyebrow makeup for no browsbuilds believable structure with fine strokes, tints the tiny hairs you do have, and adds clean contrast so the result reads natural and lifted.
What Is TheBest Eyebrow Makeup For No Brows
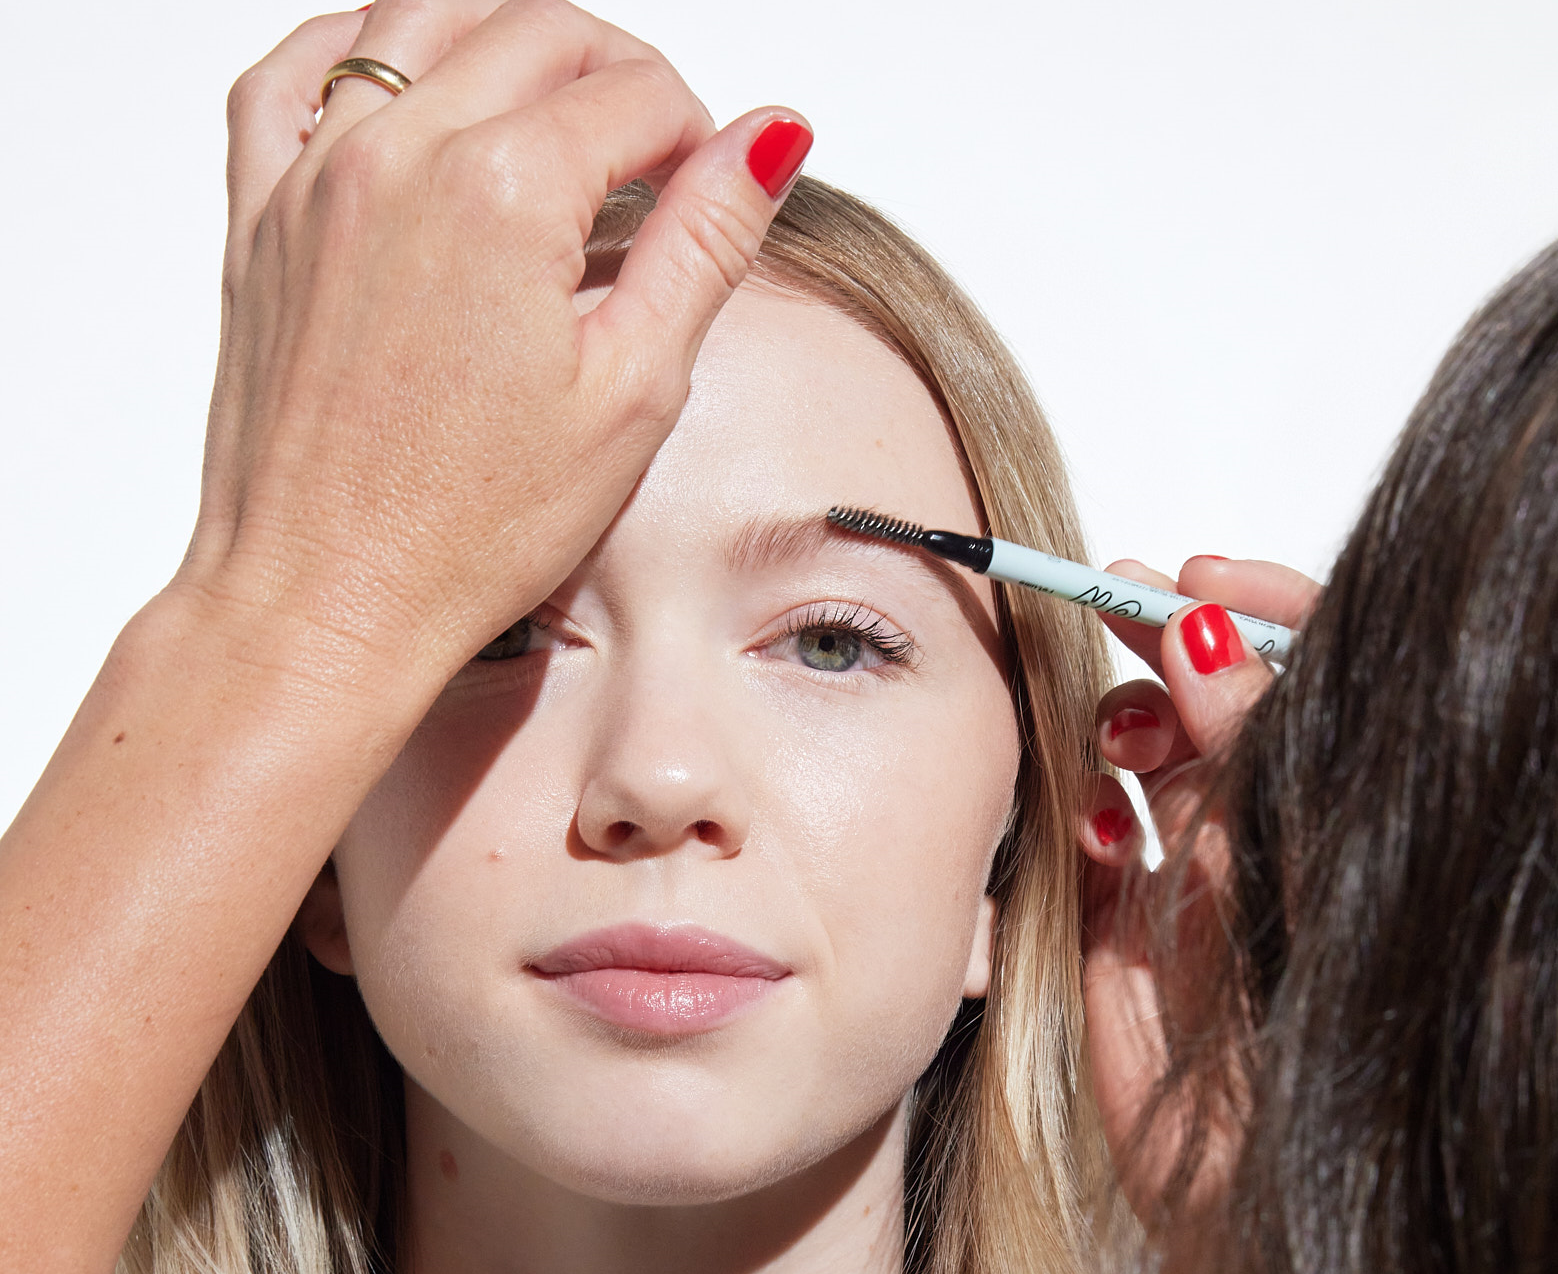
When hair is minimal or invisible, you need three functions. First, a precise pencil to draw hairlike strokes where hair is missing. Second, a tinted pomade to deepen fine, hard-to-see hairs and hold them in place. Third, a soft highlighter to sharpen the edge under the brow and lift the arch without heavy color. Relume teaches this trio repeatedly in its tutorials, including a lesson for invisible brows and sparse tails that shows why backcombing before gel makes those tiny hairs show up.
What You Need ForBest Eyebrow Makeup Routine
-
Relume Full On Brow Pencil in your shade
-
Relume Sky Rise Gel in tinted or clear
-
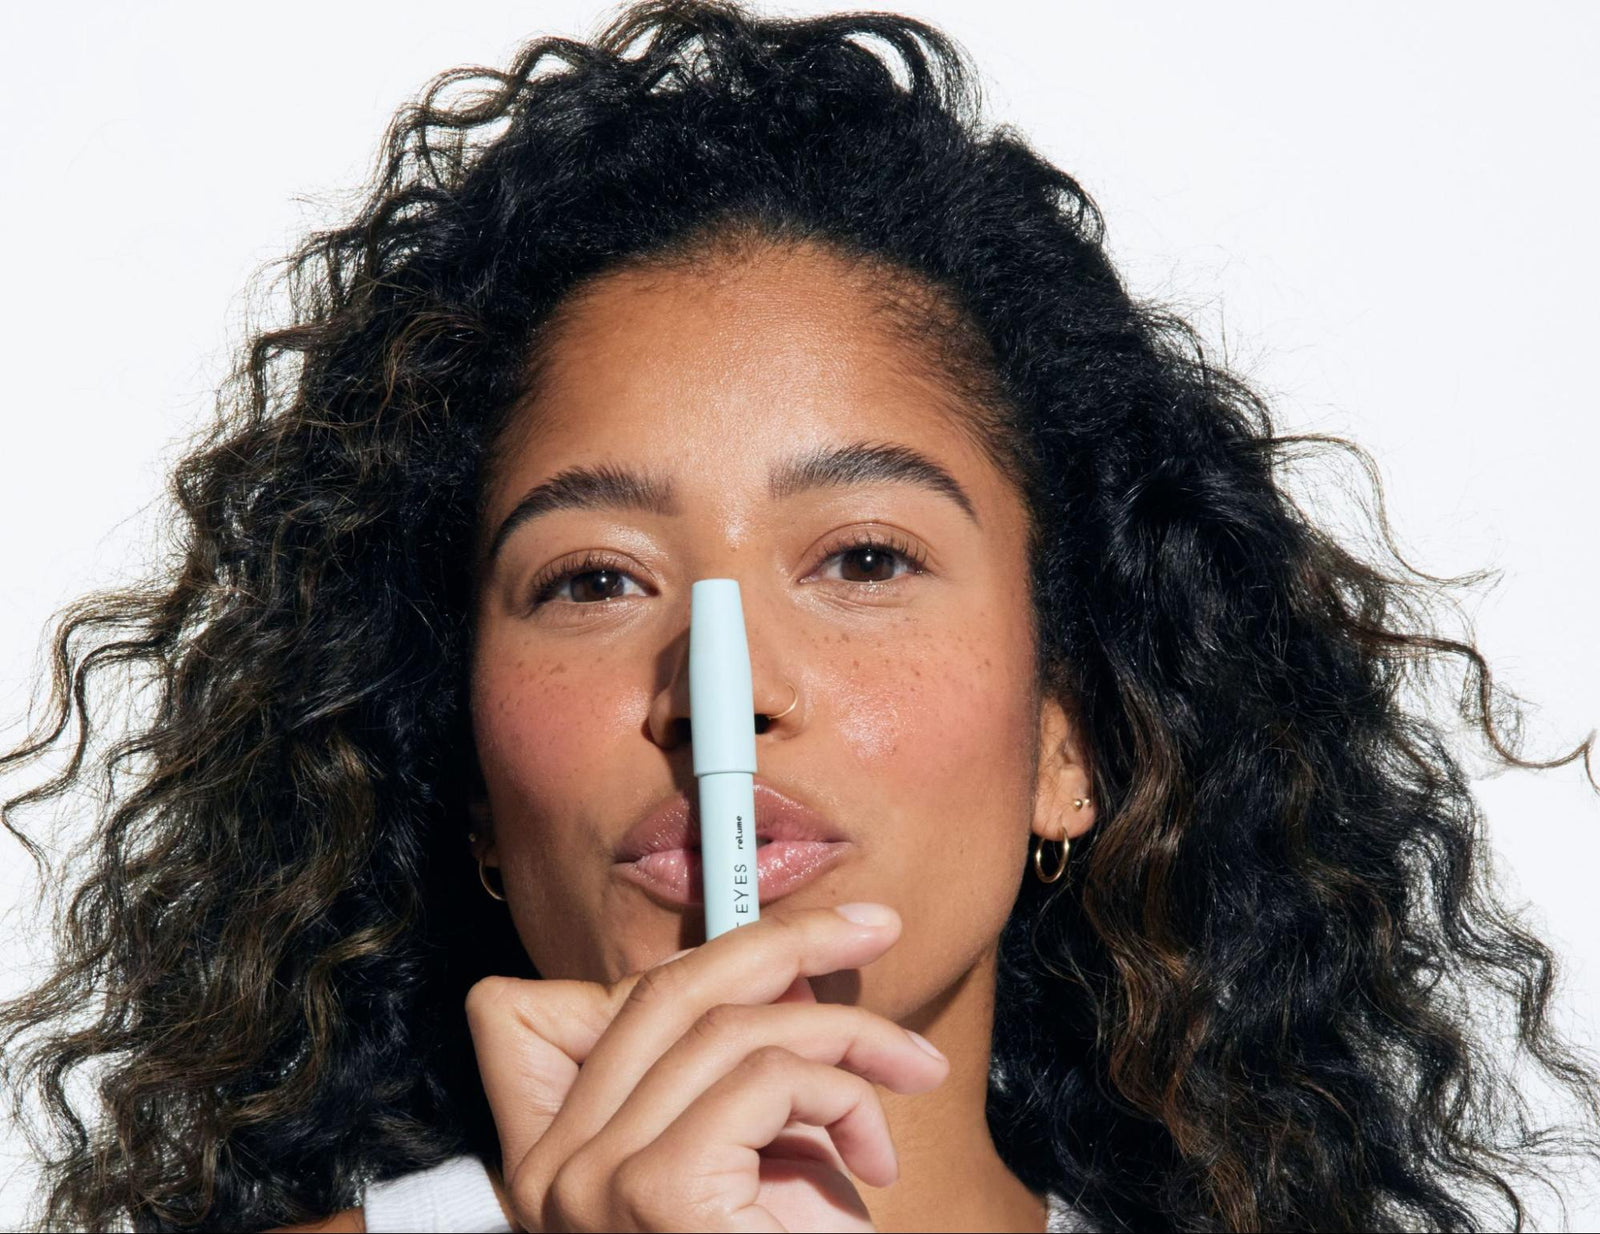
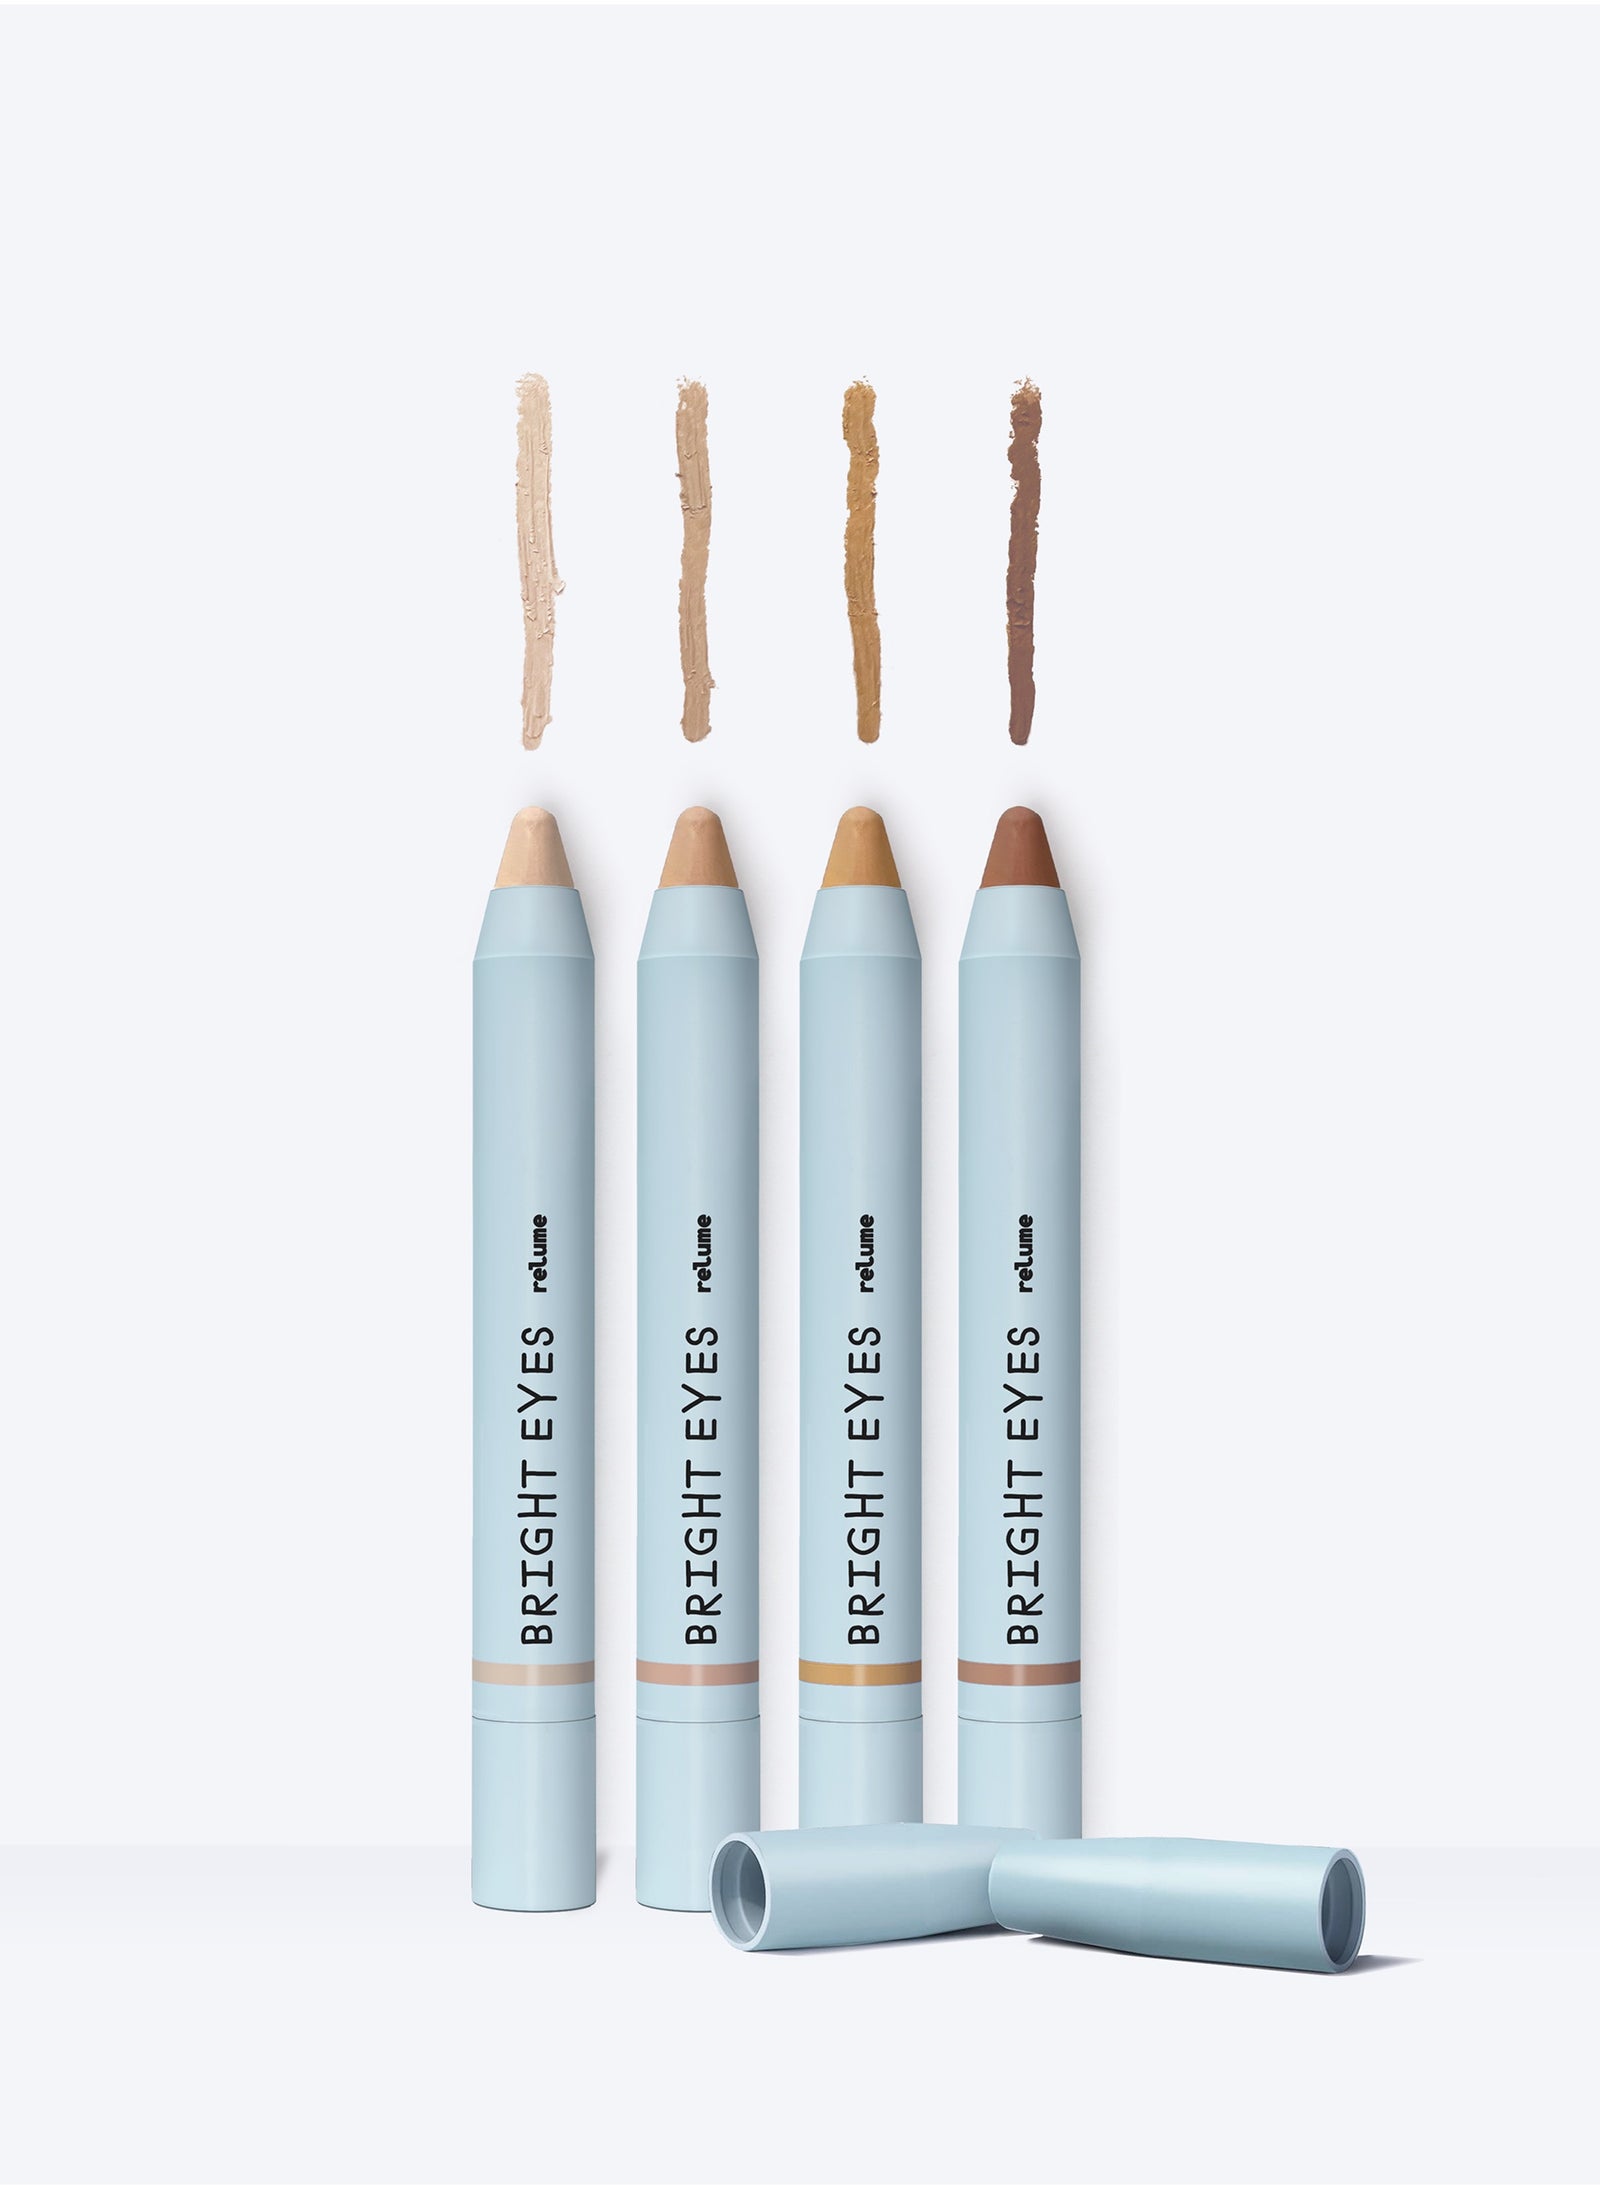
Relume Bright Eyes Brow Highlighter
-
Clean spoolie
-
Small flat or fluffy brush
How To Draw Eyebrows When You Have No Hair Step-by-Step
Step 1: Map the start, arch, and tail.
Correct placement is half the result. The start sits straight up from the indent of your nose. The tail extends along a line from the outer edge of your nose through the outer corner of your eye. Mark soft guide points so your shape follows your proportions rather than trends.
Step 2: Backcomb, then tint the hairs you do have.
With the Sky Rise Gelbrush against the growth with a spoolie to lift fine hairs. This turns near invisible growth into visible structure and keeps the end look soft rather than stamped on. If your tails are faint, focus your first pass there.
Step 3: Build hairlike strokes only where needed.
Use the Full On Brow Pencil applying quick medium pressure hair like strokes and work in the direction of growth. Start in the center because that area anchors the brow, then add strokes through the arch and tail. Keep the front soft, meaning apply strokes with lots of space between them. You want to see your skin through the hair like strokes. If you need to lengthen a missing tail, extend with tiny strokes that taper, following your mapping line. A Relume tutorial on missing tails demonstrates this gentle extension and shows how varied pressure mimics real hair.
Step 4: Refine the outline without harsh borders.
If you like a touch more structure, lightly sketch along the lower edge with the pencil, then blend upward with the spoolie so there is no visible border. Relume’s sparse browlessons emphasize outlining as a guide, not a rigid frame, and keeping fronts airy so the brows look like hair, not blocks.
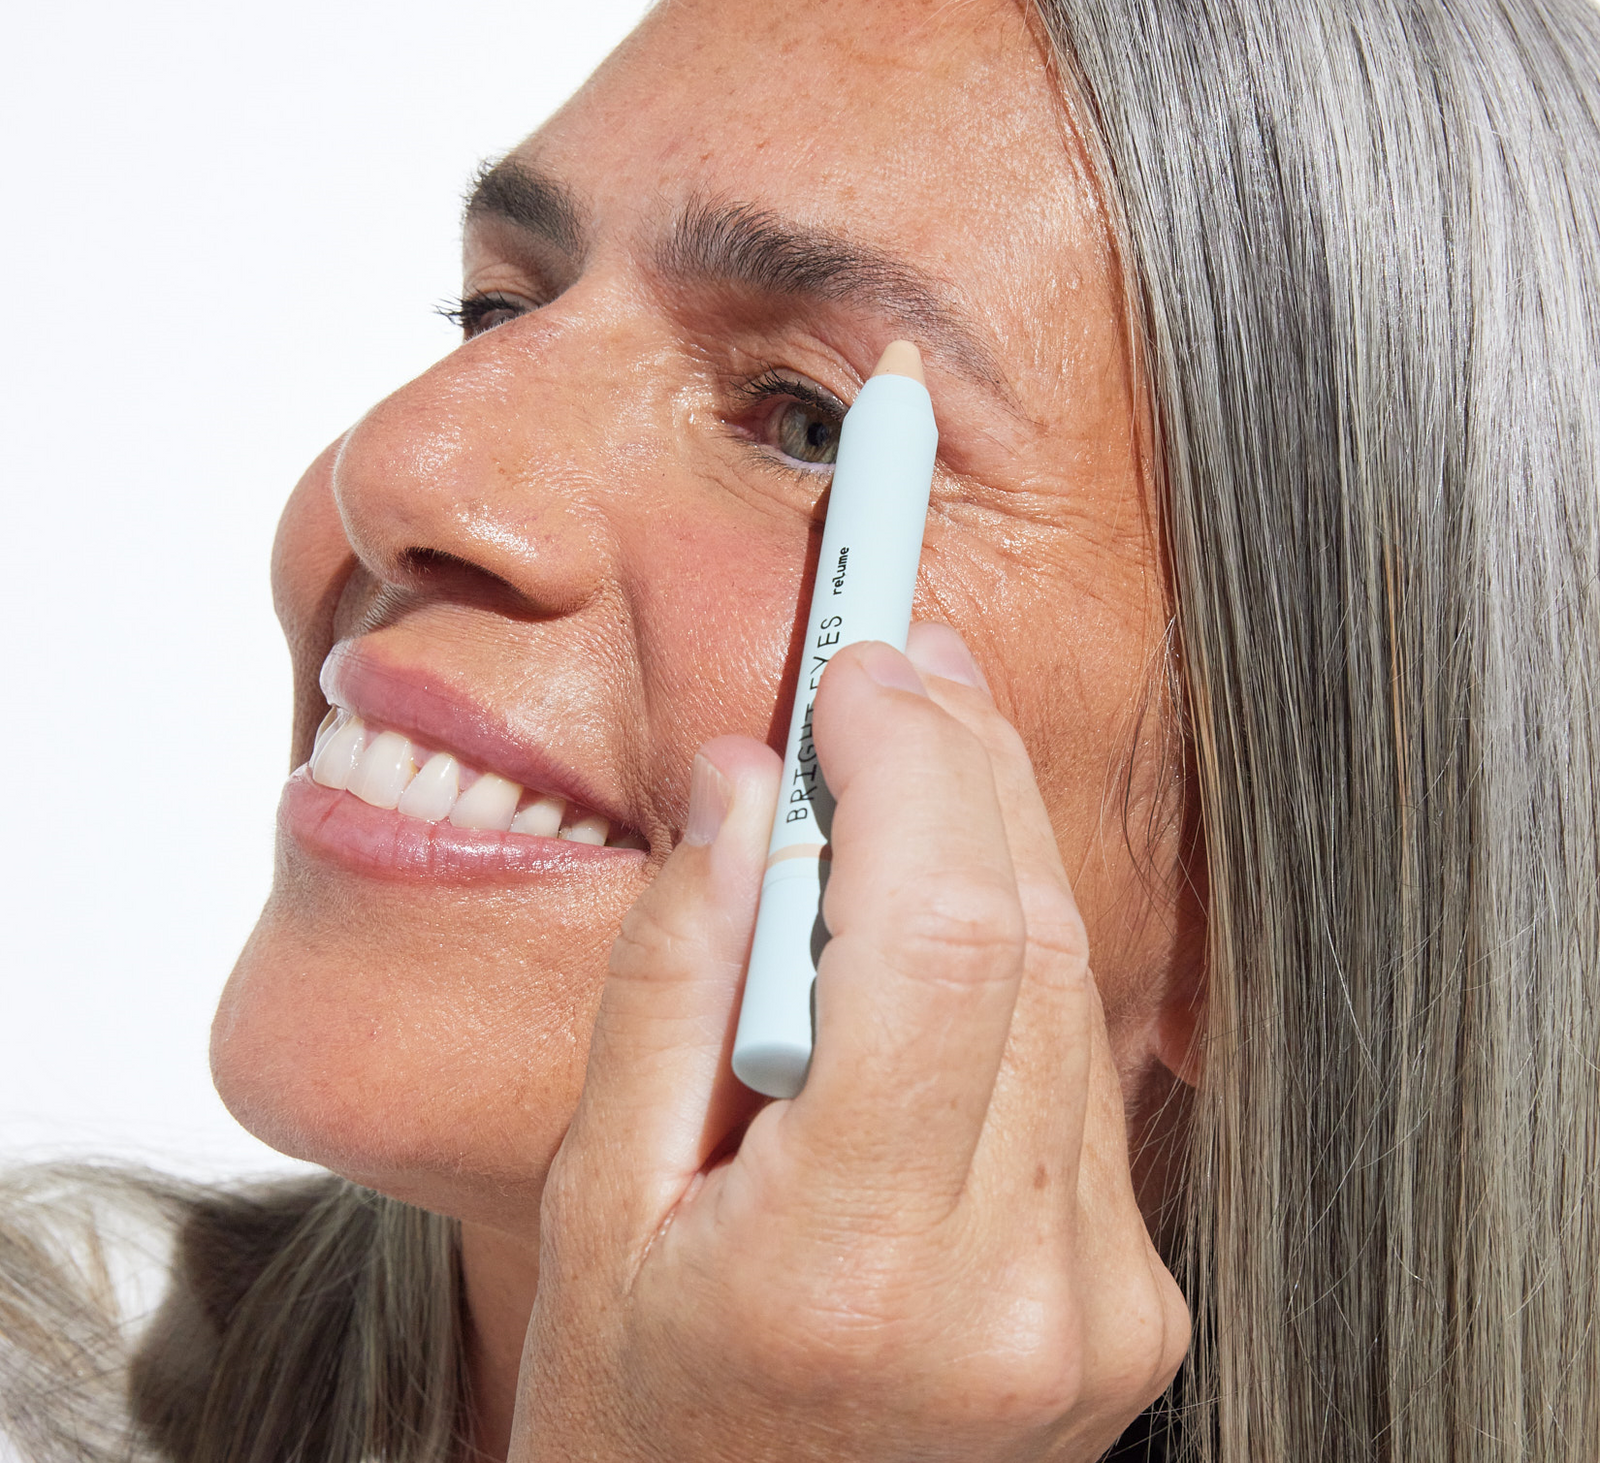
Step 5: Add lift and cleanup with a creamy eyebrow highlighter.
Trace a thin line of Bright Eyes Brow Highlighter directly under the brow from front to tail, then blend back and forth just below the brow hairs with a small brush. This contrast sharpens the work without more pigment, which is critical when you are creating brows on bare or sparse skin.
Step 6: Set for all-day wear.
Make sure your skin is clean before you start applying your eyebrow makeup. If you have moisturizer and other products in your brows we recommend cleaning them using Micellar water on a Q-tip. This is a great tip for those who have oily skin as well.
Best Eyebrow Makeup For No BrowsWhen Tails Are Missing
Missing tails are common. Start by reinforcing the center so the brow does not drift downward. Map the tail along the nose to the outer eye line, then extend with pencil in small, tapered strokes. Keep the underside parallel to the top so your tail looks lifted rather than drooping. A light pass of tinted gel over the tail will catch any peach fuzz and keep the effect soft and believable. The Relume tail tutorial walks through this exact sequence and shows why less colour delivers a more realistic finish.
Shade Selection And Undertone That Look Real
Match undertone first, depth second. If your natural hair is ash or cool brown, choose a neutral or slightly cool pencil. If your hair is warm, choose a warm brown. When in doubt, go a touch darker in pencil, you can always adjust the color by using light or hard pressure. Let the tinted gel add depth by tinting the hairs and evenly spacing them out. Relume’s shade guides and natural fill videos reinforce this approach, so the result reads like hair under daylight.
Fix Common Problems Without Starting Over
If the front looks too square, comb through with a clean spoolie and lift a few strokes upward to break the line. If the tail is fuzzy, tuck a tiny triangle of highlighter beneath the tail and blend down to sharpen the edge instead of adding more pencil. If both brows drift in different directions, revisit your mapping points and bring each brow back to its anchors. Minor corrections keep the makeup thin and realistic.
Make YourEyebrow Makeup Last All Day WhenYou Have No Brows
Start with clean, dry skin. Clean away any skincare or sunscreen with makeup remover and q-tip, then follow the sequence above. Thin layers are everything. Keep the highlighter sheer and blend until seamless to prevent creasing. Want to see each step in action? Follow the quick video guide to map, fill, and set believable, lifted brows in minutes.
If you are new to this or want a custom map for your face, book Relume’s Virtual Brow Coaching and get a live step-by-step plan tailored to your growth pattern and shade.